Import GradleProject
Gradle Plugin Support
IntelliJ IDEA supports Gradle SDK version 1.2 and later, and the Gradle plugin is bundled with IntelliJ IDEA and activated by default. If the plugin is not activated, enable it on the Plugins tab of the File > Settings (Windows and Ubuntu) or IntelliJ IDEA > Preferences(OSX) menu.
You can find more detailed information about Gradle and IntelliJ on IntelliJ's website.
Opening/Importing GradleProject
If you have just started IntelliJ IDEA, you will be presented with the Welcome screen.
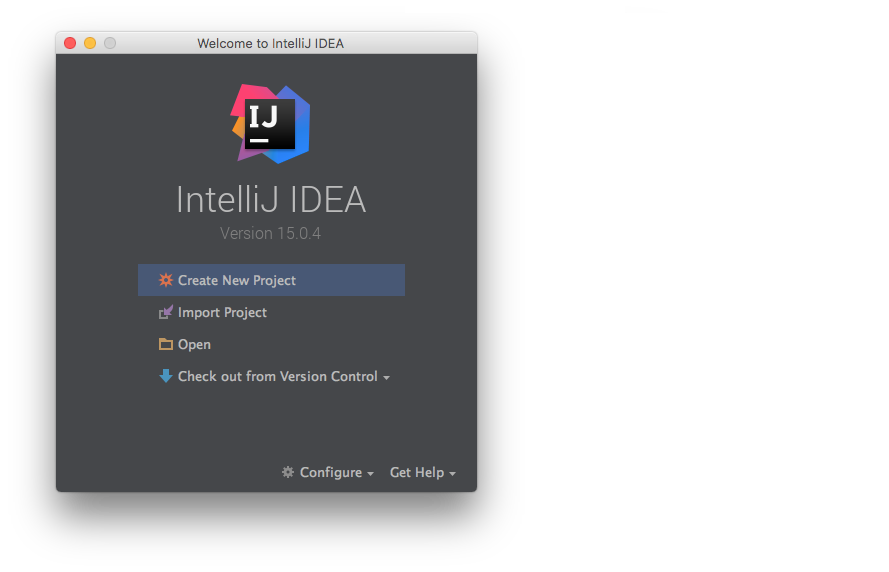
Choose Open from the Welcome screen, or if IntelliJ IDEA is already open choose File/Open from the menu bar.
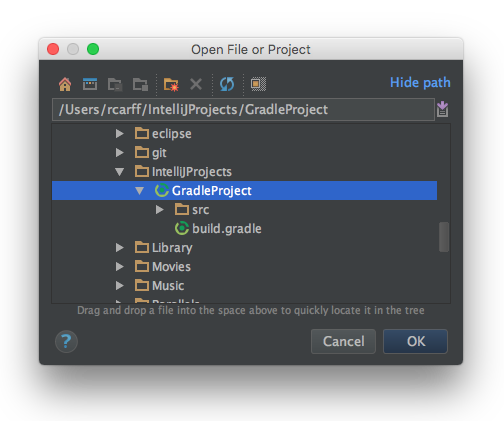
From the Open File or Project dialog traverse the directory structure and select the GradleProject folder or the build.gradle file and select OK.
There are several things to note in the next dialog, which have been marked:
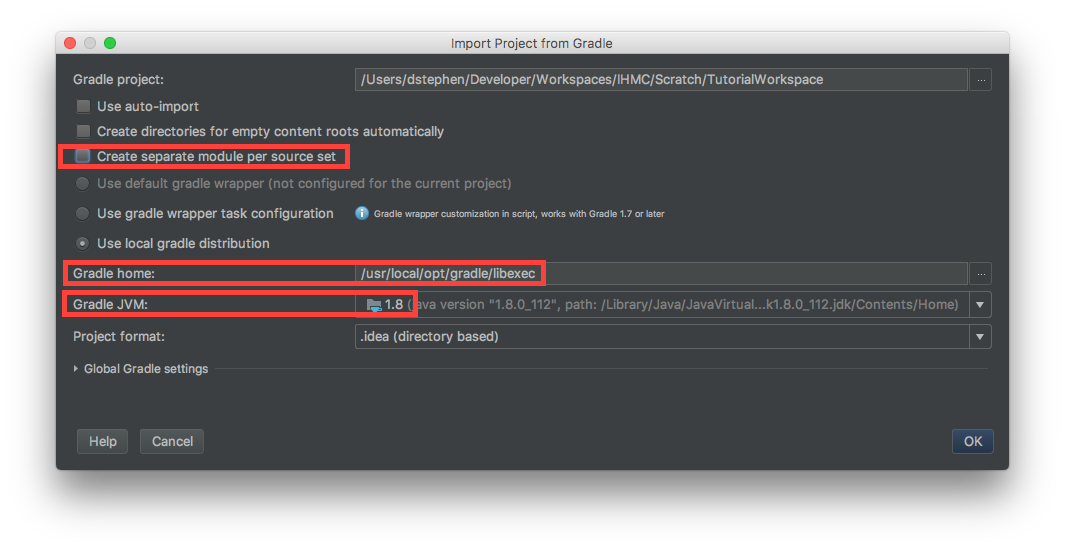
- We highly recommend unchecking the option for using separate modules per source set
- If you are using a local Gradle distribution, you will need to identify the Gradle Home; typically this is the directory above the
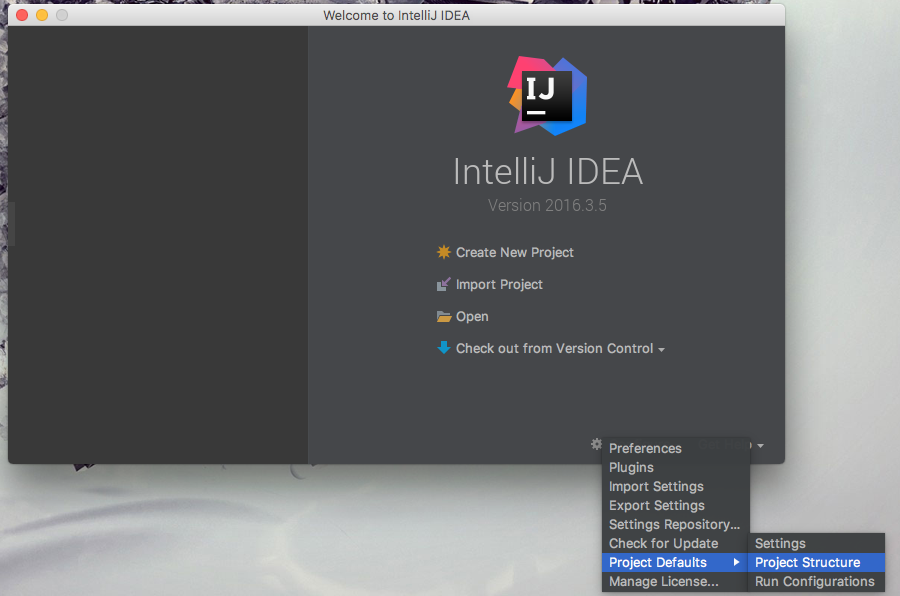
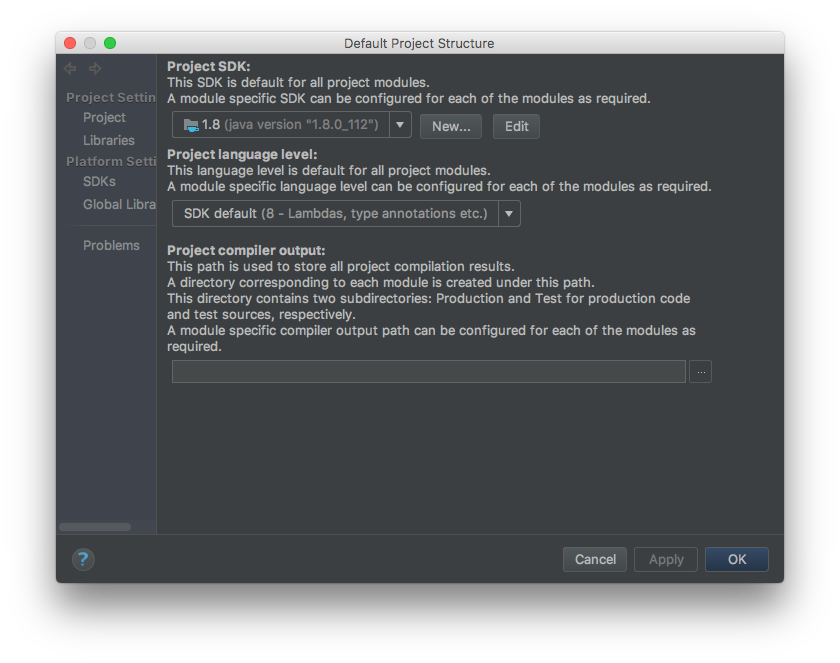
bindirectory that contains thegradleexecutable. In this example, using Homebrew for OS X, we identify/usr/local/opt/gradle/libexec; if you were to look inside of this directory you would see/usr/local/opt/gradle/libexec/bin/gradle. On other operating systems this location may change; for example, in Ubuntu, you may need to traverse several symlinks due to the way apt-get installed packages are configured in order to find the actual Gradle Home. - If this is your first time launching IntelliJ IDEA, the "Gradle JVM" option will be empty and will make allusions to Java Home. Another option is to have already added a "Project SDK" to IntelliJ using the Wizard. This can be done prior to importing the build.gradle by selecting
Configure -> Project Defaults -> Structureand using theNewbutton to add a JDK installation to IntelliJ IDEA:
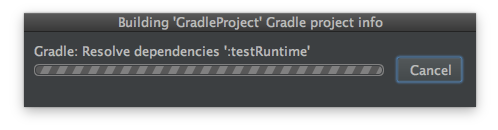
Wait few minutes while IntelliJ IDEA imports GradleProject and obtains the dependencies specified in the build.gradle file: